
1. To add a new auto record, you have to be first on your operator account.
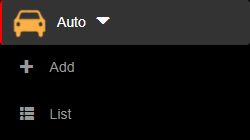
2. Press on the Auto tab ( ![]() ) from the menu.
) from the menu.
3. Then press on the Add tab from below.
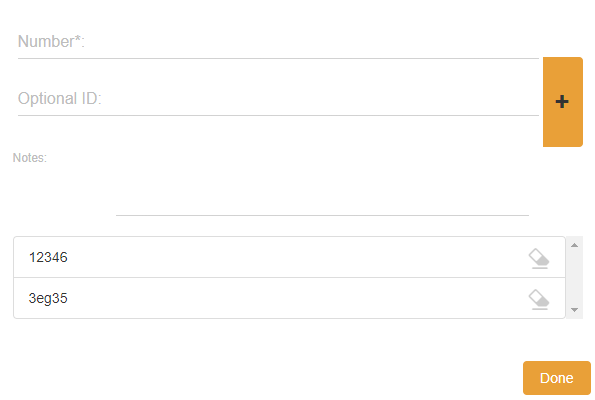
4. Here you will have to fill in the required fields in order to add an auto record.
4.1. You can also select one of the following options:
- REQUEST SIGNATURE – grants the ability to use the signature feature only if a signature device exists and the add-on is enabled
- SCAN QR CODE – grants the ability to fill fields inside the form by scanning a QR code
4.2. With invoices, notices or seals you can add an id document with the Add button once the field has been filled or erase the id with the Remove button on the right of the wanted id. All changes are saved once the Done button is pressed.

5. After filling/selecting the fields, you can either press on the:
- Back button – this will return you to the list of auto records.
- Save & exit button – this will create a record based on the completed form and return you to the list of auto records.
- Save & new button – this will create a record based on the completed form and show a new form to create a new auto record.


6. After saving the new auto record, a notification will appear with the message “Requires permission.” and in order to save the new auto record in the list, a resident type operator, that belongs to the resident that the newly created auto record visited, must allow access and then you will have to go to the Guests tab from left side of the page and then press on the Check-in button ( ![]() ) from the Actions column of a guest that was put on hold.
) from the Actions column of a guest that was put on hold.
