1. To enable SMS messages, you have to be first on your admin account.
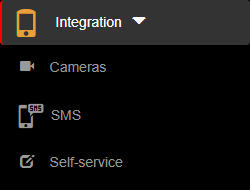
2. Press on the Integration tab from the menu.
3. Then press on the SMS tab from below in order to see all types of SMS messages available.
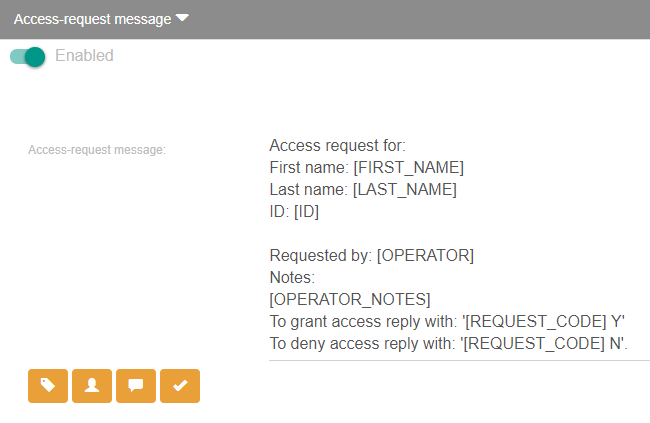
4. From here, you can enable/disable different types of SMS messages that can be triggered only under certain conditions. You can also change or customize the default message template from each type of SMS message by typing each word and [shortcode] or by using the predefined buttons with their respective [shortcodes]. The SMS messages and their effects when enabled are:
- Accept-request message – this message triggers when a resident has the option SMS access validation enabled. After that, a resident user can accept or deny a request from an incoming person or auto record by sending an SMS message back with the allow/deny code attached with the SMS request received instead of going in the app interface to allow or deny the request.
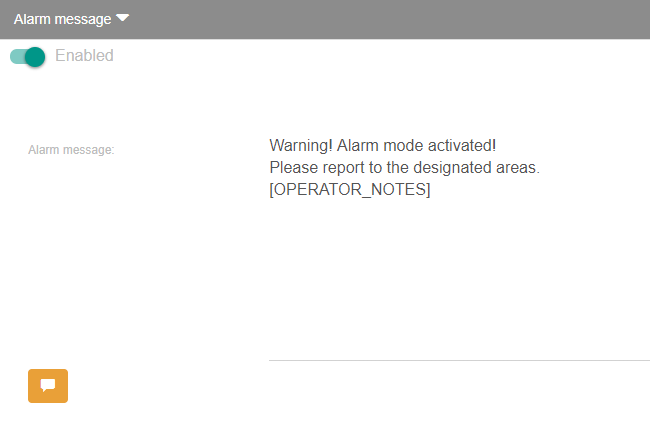
- Alarm message – this message triggers when an operator activates the alarm mode. Multiple messages with the template used will be sent to all guests from the same location that the operator belongs to.
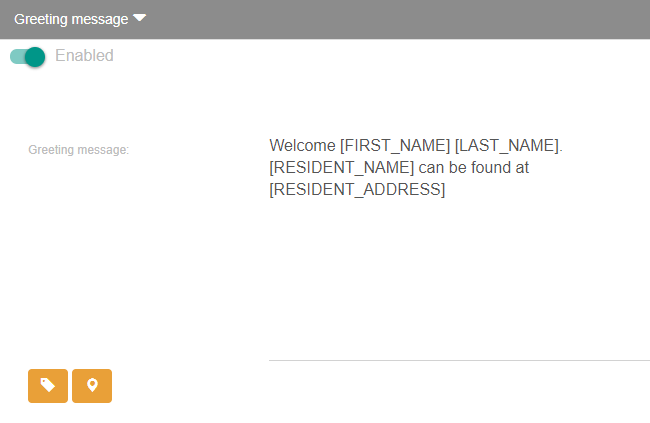
- Greeting message – this message triggers if a phone number is attached to a person or an auto record and they also have been checked-in by an operator. After that, the person with the respective phone number will be notified through an SMS message with details about where to find the visited resident.
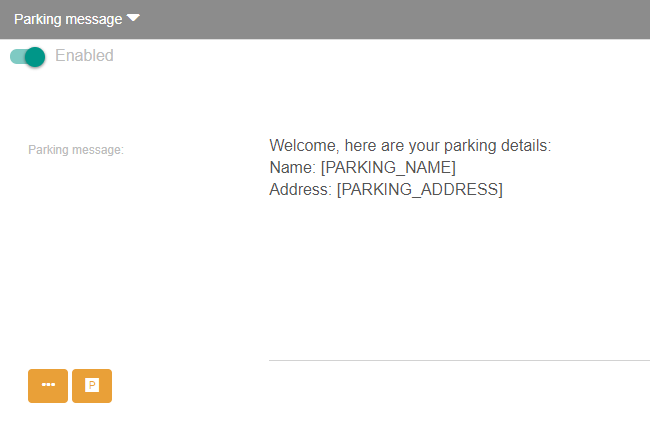
- Parking message – this message triggers only if an operator enters a phone number for a new person or auto record. After that, the person with the respective phone number will be notified through an SMS message with details about their parking spot.
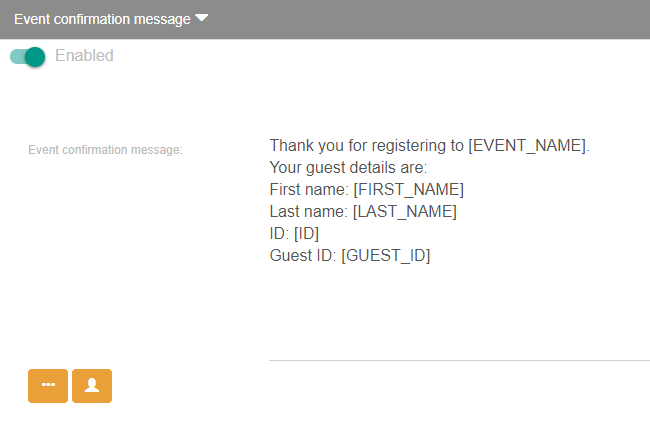
- Event confirmation message – this message triggers when a new registration is made through a registration form from an active event. The person with the respective phone number from the registration will be notified through an SMS message with guest details.
5. After setting up the SMS messages, press on the Save button in order for the changes to take effect.


